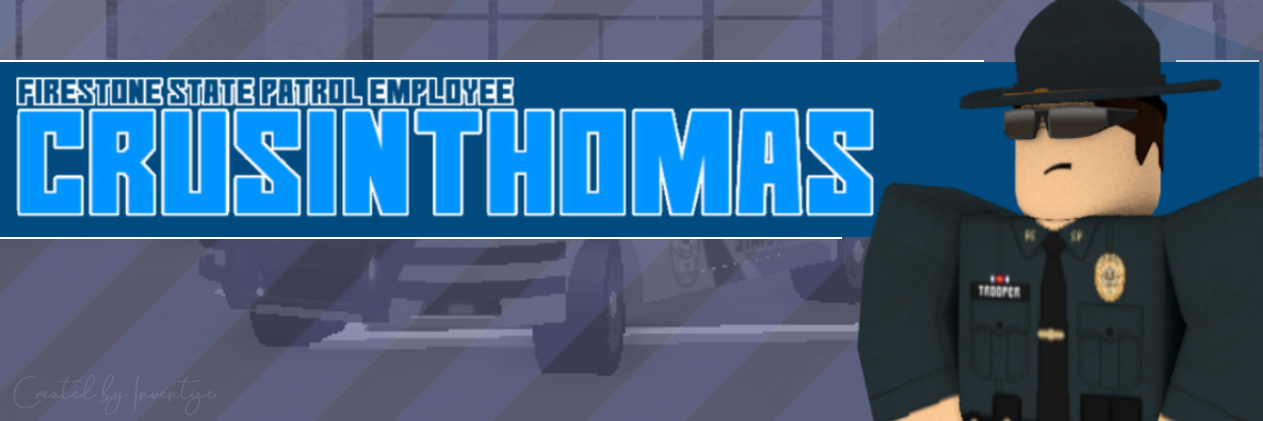
RENDERING A CHARACTER TUTORIAL
tutorial by inventize (adobical / inspiric / sourcedinfinity)
TABLE OF CONTENTS
PART 1
- Introduction & My Experience
- Materials / Software / Plugin Usage
- Blender Usage Introduction (for people completely new to blender)
- Loading and Exporting a Character
PART 2
- Blender Startup and Initialization / Importation of a Character
- Object Editing and Shaping Limbs.
- Environment Lighting / Shading and Rendering
- Exporting Image and Importing onto paint . net
- Finalization
- Final Product and Examples
INTRODUCTION & MY EXPERIENCE
This is going to be a very basic tutorial. I really don’t care if you think I’m doing my rendering wrong. This is how I do it, and I’m showing people how i do it. I followed a video tutorial about rendering (linked down below), which is what I will base my tutorial off of. I’ve been rendering for about a year. I’ve made the art for @OfficerVideoGame and @Butsworth’s campaign, along with @FrancisHUnderwood’s campaign. They can be found in Section 10 as my examples. I’ve constantly seen people ask “how did you make that?” and I’m getting tired of it. Hopefully, this forum can answer your questions.
I’ve been using paint . net (a program used within this tutorial) since 2013. I believe that I’m experienced enough to teach individuals about what you should know about the usage of the program. I’ve used Blender for about a year, as stated above. I am still inexperienced, but I will try my hand in teaching you what I currently know.
I will be linking some links unrelated to the State of Firestone, but this topic is quite relevant to the State of Firestone as individuals within this community are in need of this tutorial, so moderators can take it upon themselves to moderate or keep this thread.
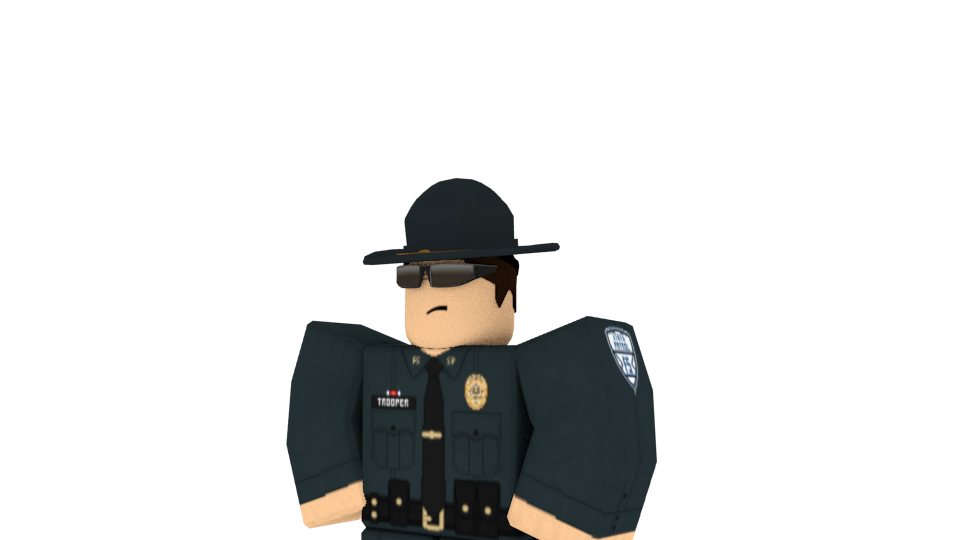
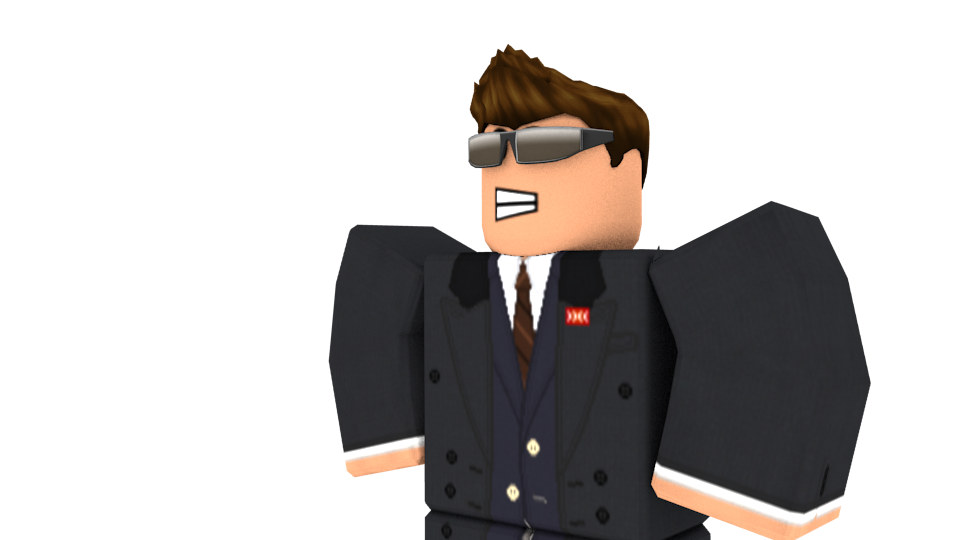
THIS TUTORIAL DOES NOT INCLUDE RENDERS WITH CAMPAIGN HATS LIKE THE ONE YOU SEE BELOW
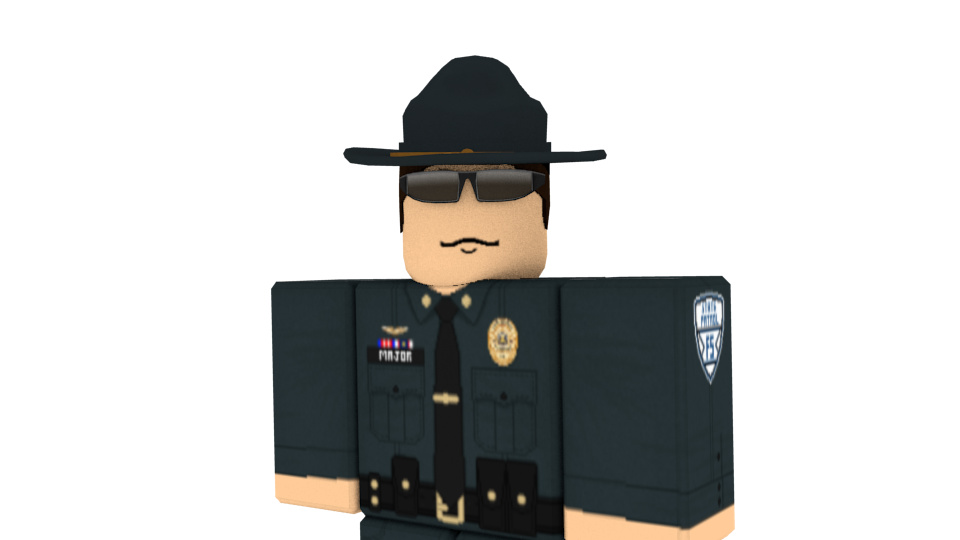
(my render of @fobagosalot as a major)
MATERIALS / SOFTWARE / PLUGIN USAGE
All of the links listed below are completely free for personal / commercial use. They are open sourced, meaning anyone can take the program and make it as their own. I will list a description of each link below. Materials are upon your IRL materials, like your keyboard and mouse. If you have only have a trackpad, I hope you good luck in following this tutorial.
MATERIALS
MATERIALS
A Computer. (obviously.)
A Keyboard with a Number Pad. (IF you don’t have one, I will post a reply regarding what you can do without a number pad. The only reason why you need a number pad is because of the hotkeys that Blender assigns to the number pad just to make our lives easier. This tutorial will just have 1 hotkey that uses the number pad.)
A Mouse with a Scroll Wheel. (If you don’t have one, well I hope you good luck lmfao)
DOWNLOADABLE SOFTWARE
Downloadable Software
This software is virus-free, I swear. These are official websites for installation of the software used within this tutorial.
paint . net : Install paint.net
paint . net (otherwise pronounced as paint dot net) is a free sourced program for anyone to use. It’s the easiest to use photo editor in my experience, so I’ve been using that for a while. I used paint . net for almost everything below in the examples.Blender : Download — blender.org
Blender is a free program used in the rendering of 3D models. Individuals use this program to either render their ROBLOX character, or to develop 3D meshes for building.ROBLOX Studio : https://www.roblox.com/develop
This is the link to access your ROBLOX decal / model inventory, along with places. Install ROBLOX Studio by accessing this page and clicking on the Studio link within the “Developer Resources” box below the category list.
PLUGINS / MODELS
Plugins / Models
These are plugins that I currently use for ROBLOX Studio. I also have plugins for paint . net but I can’t put them here due to risks of moderation action. I can and will place them down in the replies if this forum continues to stay up.
- LoadCharacter Plugin : https://www.roblox.com/library/752585459/Load-Character
This plugin basically spawns your character with the outfit that you are currently wearing. Just simply put in the username of the person you would like to export to Blender, and then work from there.
BLENDER USAGE INTRODUCTION
You’re probably wondering what the fuck Blender is. Well, if you are, you clearly didn’t read what I stated above.
https://i.imgur.com/NI18b69.png
Here’s a reminder if you couldn’t be arsed to read that.
Now. Here’s the deal. I will introduce to you the UI elements that you need to use while rendering a character, and even the startup page.
STARTUP
STARTUP
This is what you should have when you start up Blender. Let me explain to you what this is.
That odd menu in the middle of the screen is called a splash screen. You can get rid of it by clicking anywhere else within that dark gray square in the center.
This dark gray square (square with highlighted outline) is your “workspace.” All the objects and the camera is located within here. The camera is the weird sideways pyramid looking thing with a triangle right above one of its sides. You are NOT to delete that. ever. don’t do it. The cube in the middle can be deleted to give your character space when you import it into the workspace. That’ll be explained later.
To move around within the workspace, you have to use your mouse. Trackpads are literally useless when you’re using this. It might need a bit of time to get used to, but you just have to do it man. I don’t know any other way to change the way you move around.
Everything else on the screen will be explained in the following subsection.


PROGRAM LAYOUT
PROGRAM LAYOUT
This section will explain the layout of Blender and what you can and can’t touch while explicitly rendering your character. Everything here listed is what you can touch to render a character. You shouldn’t touch anything else.
Let’s start with the top bar. The only thing you should click is File, which summons a drop list for you to import and open your files. This will be further explained later in the tutorial.
Below is the thing you will touch the most. I call this the Essentials Tab, as it contains all of the essentials that you may need.
Everything you will need to touch here will be provided within the tutorial.
The rest will be covered in the tutorial.


LOADING AND EXPORTING A CHARACTER
Open up ROBLOX Studio and sign in with your ROBLOX credentials. Create a new baseplate place and then open it up. Your screen should be like this once you have opened the new baseplate.
https://i.imgur.com/XueDmTa.png
It might look different due to my current setup and preferences, but you do not have to exactly have the same result as me. After you load it up, click the Plugin tab, located above the toolbox in the image.
You should be able to come across the plugin that you installed.
https://i.imgur.com/OooMlI7.png
Click on that and then it would show you a UI in the middle of the screen.
https://i.imgur.com/JirabqG.png
That subtle box in the middle above Spawn R6 is where you are going to type up your username. If the username is legitimately spelled, the image will change to your character, as so.
https://i.imgur.com/NWlfoRq.png
Click Spawn R6 to spawn your character. This should spawn your character in the middle of the baseplate, as so.
https://i.imgur.com/RiePFGm.png
Go into the explorer tab, shown below.
https://i.imgur.com/tIJ0SiI.png
Click on the Model in the workspace, and then right click.
https://i.imgur.com/bLerjYA.png
Click Export Selection, and then save it to your files.
https://i.imgur.com/KMFuMfO.png
This should save it to a .obj file, which you need to remember. I blurred some things due to personal reasons. The blurred objects are not signficant to this tutorial.
Once exported, open up Blender!
Part 2 to come soon. Took me a while to make this so.